Building a vibrant multiplayer community from scratch is an incredibly rewarding experience. When you log into a bustling Minecraft server, you see a living, breathing world built by thousands of collaborating players. But how do you go from a blank slate to a thriving multiplayer hub?
Running a successful server requires more than just technical knowledge. You need a compelling vision, strategic marketing, and strong community management skills. This guide will walk you through the entire process, from configuring your initial server files to executing promotional campaigns that bring in dedicated players.
Here is what you will learn: how to set up your server infrastructure, customize the player experience, market your creation, and maintain a high-quality environment for your growing community.
The Enduring Popularity of Minecraft Servers
Minecraft remains one of the most played video games globally, and its multiplayer servers represent the beating heart of that massive player base. Private and public servers allow players to move beyond the base survival game to experience custom minigames, massive roleplaying worlds, and complex economy systems.
Players crave shared experiences. They want to show off their builds, compete in tournaments, and form factions with friends. Creating your own server allows you to facilitate these connections. You get to define the rules, shape the lore, and build an environment tailored perfectly to a specific gaming niche.
Step-by-Step Guide: How to Create Your Server
Setting up a Minecraft server requires attention to detail. You can choose to host the server on your own hardware or rent a dedicated host. For most community builders, renting a professional hosting service provides better uptime, security, and ease of use.
Assess Technical Requirements
Minecraft servers are heavily reliant on single-core CPU performance and Random Access Memory (RAM). A basic vanilla server for five friends might only need 2GB of RAM. However, if you plan to host a public server with dozens of players and multiple plugins, you should allocate at least 8GB of RAM. Ensure your hosting provider offers high clock-speed processors and NVMe SSD storage to prevent in-game lag.
Choose and Install Your Software
The default server software provided by Mojang is rarely suitable for public servers. It lacks support for custom plugins and optimizations. Instead, you should install a customized server fork.
PaperMC and Purpur are currently the industry standards for Java Edition servers. These specialized software versions patch known exploits, improve multi-threading, and allow you to install Bukkit and Spigot plugins. Most server hosting dashboards allow you to install PaperMC with a single click.
Configure Your Server Settings
Once your software is installed, you need to configure your core settings. Locate the server.properties file in your root directory. Here, you define crucial elements like the maximum player count, the server port, and the Message of the Day (MOTD)—the text that appears under your server name in the multiplayer menu.
You must also configure your server’s whitelist and difficulty settings. If you are building a public server, ensure white-list is set to false. Finally, accept the End User License Agreement (EULA) by changing eula=false to eula=true in the eula.txt file.
Customize Your World: Making Your Server Unique
Thousands of Minecraft servers exist, so yours needs a unique selling proposition to stand out. Players will not stick around if your server offers the exact same experience they can find anywhere else.
Start by defining a clear theme or gamemode. Will you host a hardcore survival world, a skyblock economy, or a specialized roleplaying realm? Once you decide on a theme, use server plugins to bring that vision to life. EssentialsX provides core commands, Vault manages digital currency, and GriefPrevention allows players to protect their builds from vandals.
Take customization a step further by utilizing custom map generation. Tools like TerraformGenerator create stunning, realistic landscapes that immediately impress new players. You can also commission custom lobby builds so that the first thing players see when they log in is a breathtaking architectural marvel that sets the tone for your server.
Proven Strategies to Promote Your Server
Building a great server is only half the battle. If nobody knows it exists, your world will remain empty. You need a proactive marketing strategy to attract players and grow your community.
Leverage Social Media and Content Creation
Short-form video content is incredibly effective for promoting Minecraft servers. Platforms like TikTok, YouTube Shorts, and Instagram Reels allow you to reach massive audiences quickly. Record cinematic tours of your spawn area, highlight funny player interactions, or showcase unique mechanics that set your server apart.
Always include your server IP and Discord link in your video descriptions and channel bios. Consistent posting builds momentum and creates a steady funnel of new players.
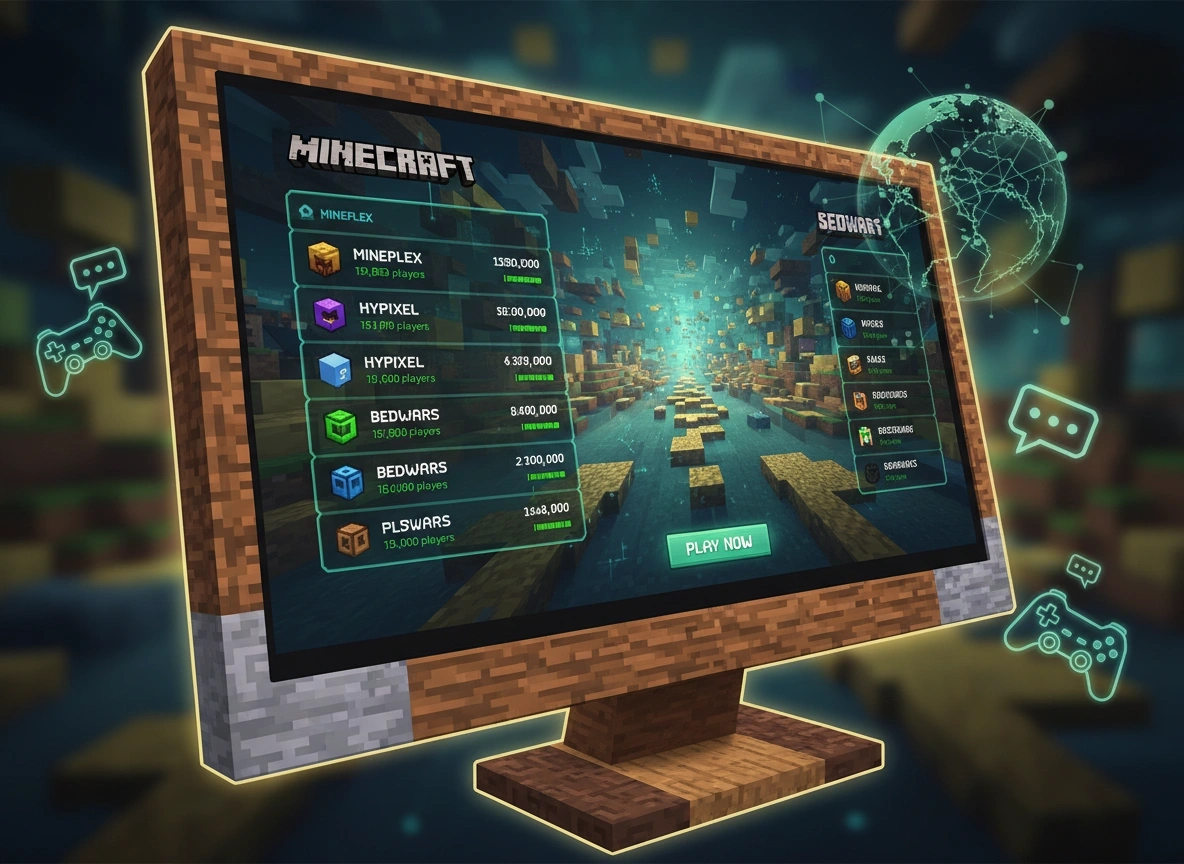
Engage on Forums and Server Lists
Minecraft server list websites act as massive directories for players looking for new homes. Register your server on platforms like Planet Minecraft, Minecraft Server List, and TopG. Write a compelling description that highlights your unique features and outlines your community rules.
Many of these lists rank servers based on daily player votes. Incentivize your current players to vote for your server by offering small in-game rewards, like cosmetic items or a handful of virtual currency. Higher rankings lead to increased visibility and organic traffic.
Collaborate with Streamers and Communities
Partnering with established content creators can cause a massive influx of new players. Reach out to smaller Twitch streamers or YouTube creators who focus on Minecraft. Offer them a special rank on your server or sponsor a stream where they play exclusively on your network.
You can also network with existing Discord communities. Find gaming groups that do not already have an official Minecraft server and invite them to make your world their home.
Best Practices for Server Management and Maintenance
Attracting players is the primary goal, but retaining them requires excellent server management. A laggy server or a toxic community will drive players away faster than you can recruit them.
First, prioritize performance. Monitor your server’s Ticks Per Second (TPS). A perfect server runs at 20 TPS. If that number drops, your players will experience lag. Use profiling tools like Spark to identify which plugins or player farms are causing performance hits, and address them promptly.
Second, establish a strong moderation team. Create clear, publicly accessible rules and enforce them fairly. Install anti-cheat plugins to automatically flag players using unauthorized modifications. Empower your moderators to resolve disputes quickly to maintain a positive, welcoming environment for your core player base.
Finally, implement an automated backup schedule. Server corruption, malicious attacks, or bad plugin updates can destroy months of player progress. Configure your host to take full daily backups and store them off-site. Knowing you can restore the server at a moment’s notice provides incredible peace of mind.
Conclusion
Creating and promoting a Minecraft server is a challenging but fulfilling endeavor. By investing time into technical optimization, unique customization, and proactive marketing, you can build an engaging world that players return to day after day.
Take your first step today by outlining your server’s core concept and researching the hardware you need to run it. With dedication and strategic planning, you can transform a simple multiplayer instance into a thriving, highly active gaming community.
Please visit website for more info.